Manual configuration of network connection
It happens that your computer refuses to obey. Sometimes it is even so that the diagnosis is final - it is necessary to format the HDD and upload the new system and applications. Then it's a problem with the network configuration. This article aims to describe exactly how to do this in
Windows (XP, 7, 8, 8.1)
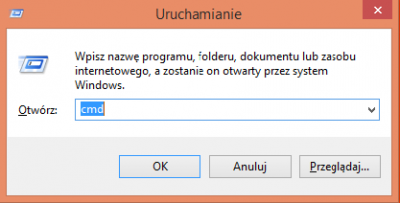
Introducing the network settings is a little bit different with each Windows OS. We'll show you a way which may be a bit difficult to some of you but simultaneously is the most universal method of all. To start, press the „Windows button” on your keyboard and then an „R” button. Press both buttons at the same time.
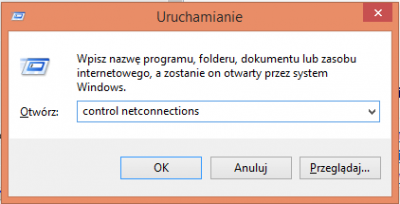
A new window will appear.
Please enter one of below commands and press „Enter”.
control netconnections
or
ncpa.cpl
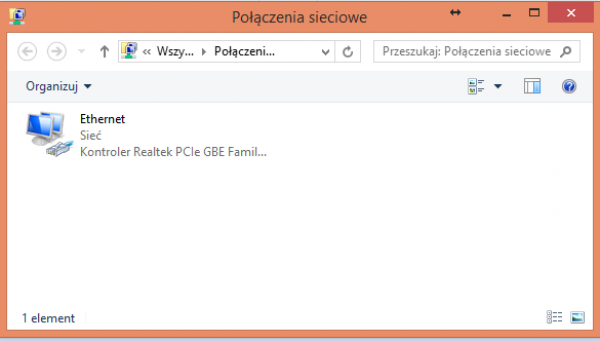
Now a new window will appear .
Please find Ethernet or Local connection icon. It should be icon with blue screens. If its not (grey) press the Right Mouse Button and than click on Enable
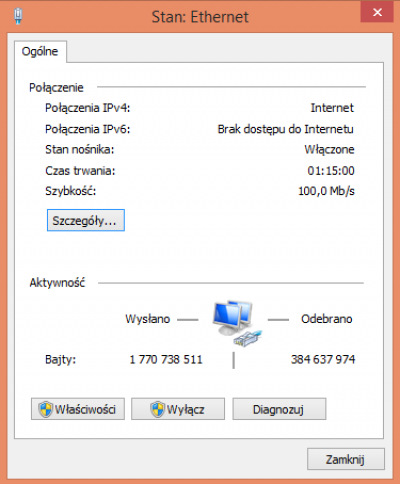
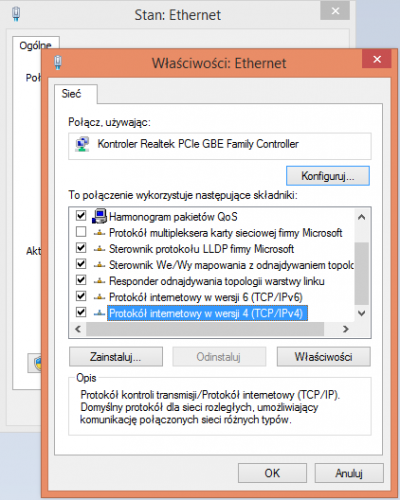
Lets go back to our Ethernet icon. Double click on it and you'll see window as below.
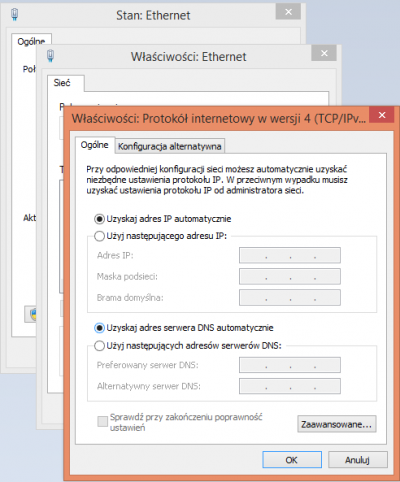
Find on the list Internet protocol version 4 (TCP/IPv4), click once and than click on SETTINGS.
Now [finally] we have the network settings. The best way is to select Get IP address automatically and Get DNS serwer automatically
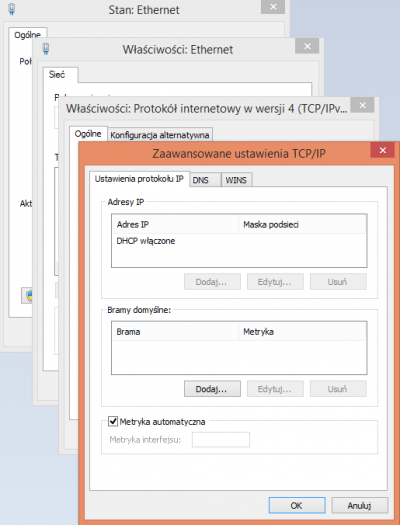
If its fine thatn click on ADVANCED,
Check if it's the same as on your screen schot.
If it will be necessary you can put manual connection settings. Find your internet contract and put
- Address IP - check contract
- Subnet mask - 255.255.248.0
- Gateway - 10.10.81.250
- DNS1 - 10.10.81.124
- DNS2 - 192.166.202.10

